Orrest Head via the "Blue" route
31st July 2026
Last month, June, I walked from Windermere Bus/Rail Interchange up to the summit of Orrest Head whilst incorporating the whole of the “blue” route into my walk. The blue route is a “Miles Without Stiles” route, although it does have steep sections and at time of writing July 2026 it has a MWS Grade of “For some”.
Here are some photographs from the walk.
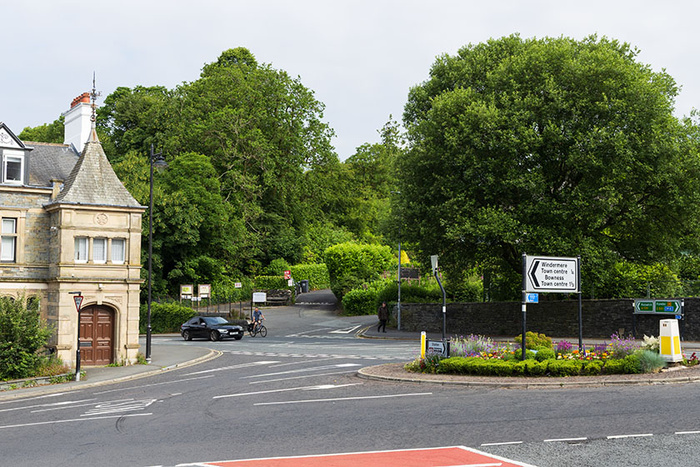
The view on the hot sunny day in June when leaving the bus/rail interchange. The start of the Orrest Head path is just visible near the car and cyclist in this image.
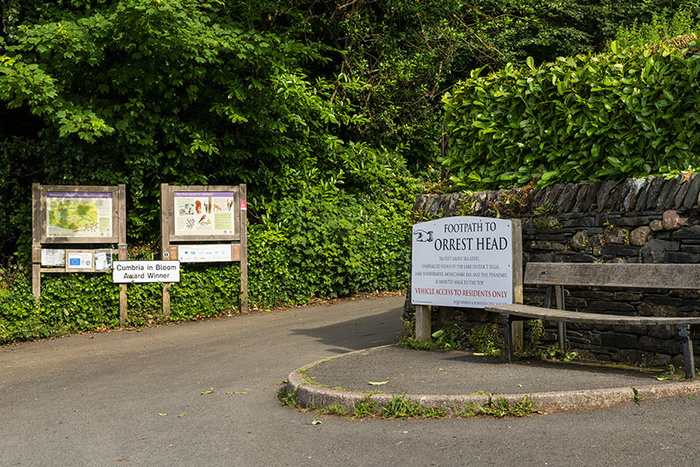
Signposts at the start of the path to Orrest Head.
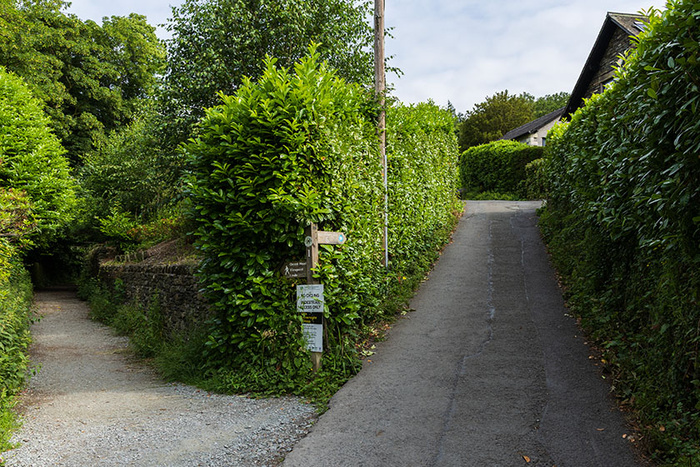
Marker post 1. The blue route is the path on the right of the picture. The blue route avoids steps.
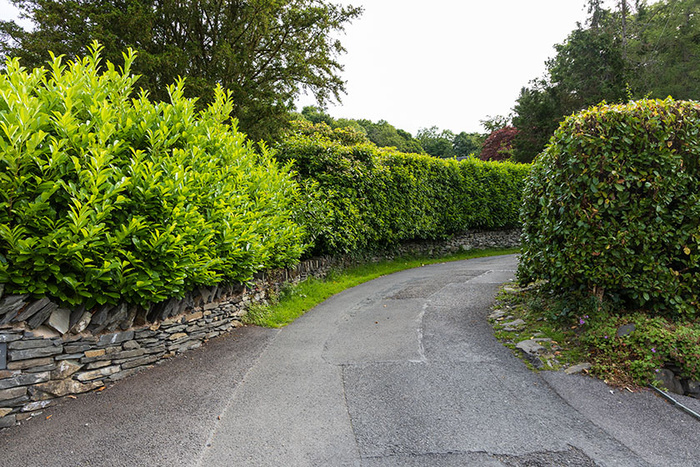
Following the blue route as it sweeps around to the right.
The blue route turns off to the left at marker post 2 here, to deviate from the grey route.
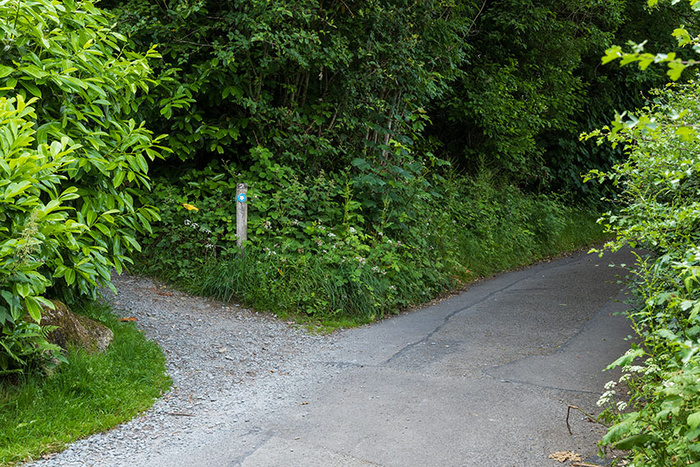
A short stretch of woodland path before the blue route rejoins the grey route at marker post 3 which is up ahead.
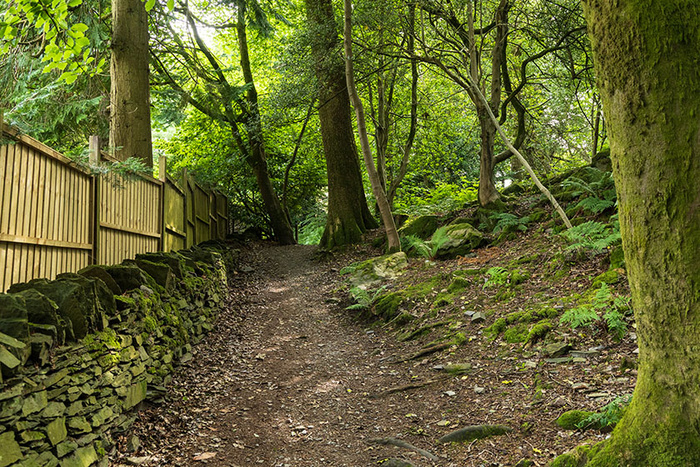
Rejoining the grey route at marker post 3.
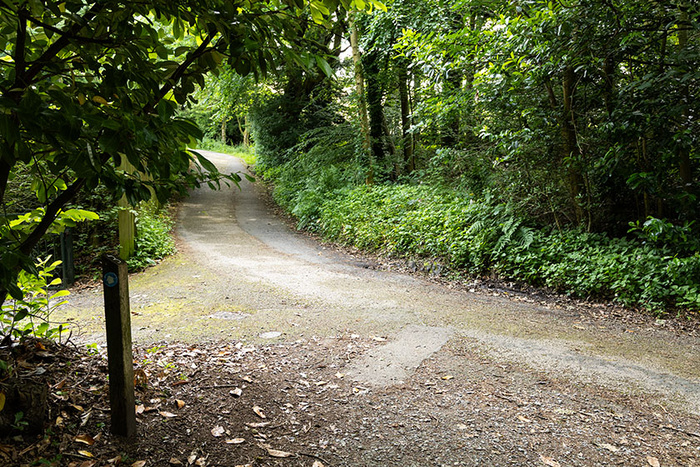
The path curves its way uphill.
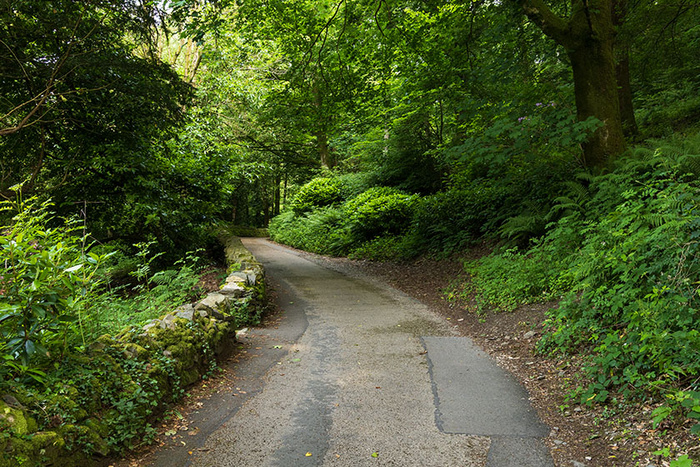
Marker post 4. Here the blue route leaves the grey route and allows for a gentle walk for the next stretch, although at the time the picture was taken, one of the blue circles was missing from the marker post. (By contrast, the grey route sweeps round to the right to quickly ascend through very tight bends).
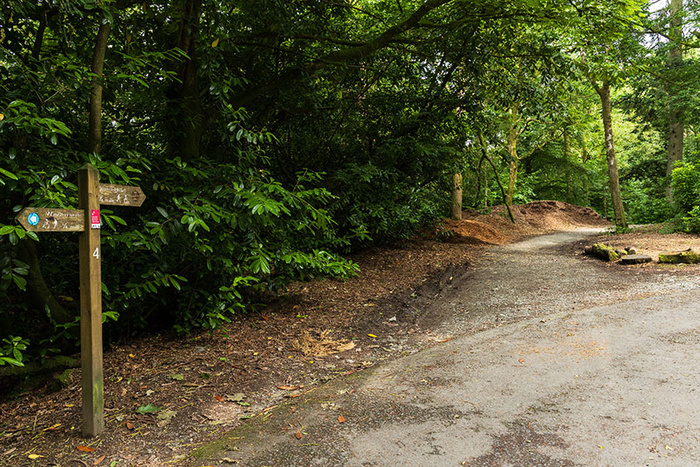
On the blue route.
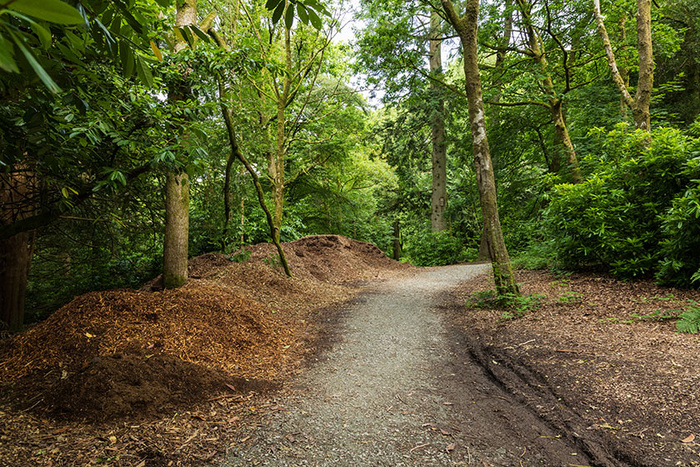
Tall trees on the blue route.
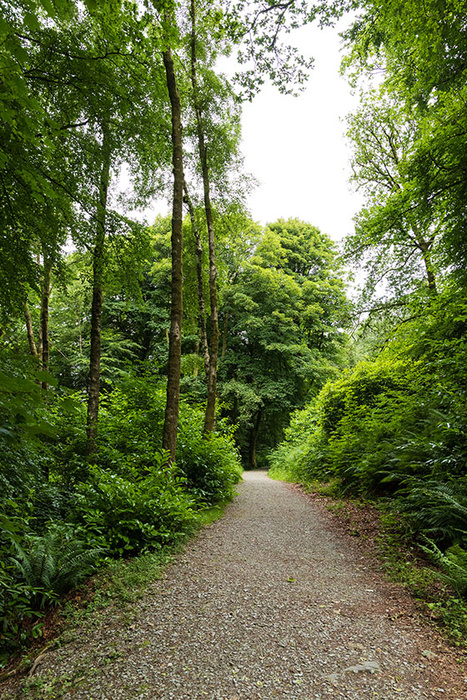
More tall trees on the blue route. The red route is appearing, on the left of this picture.
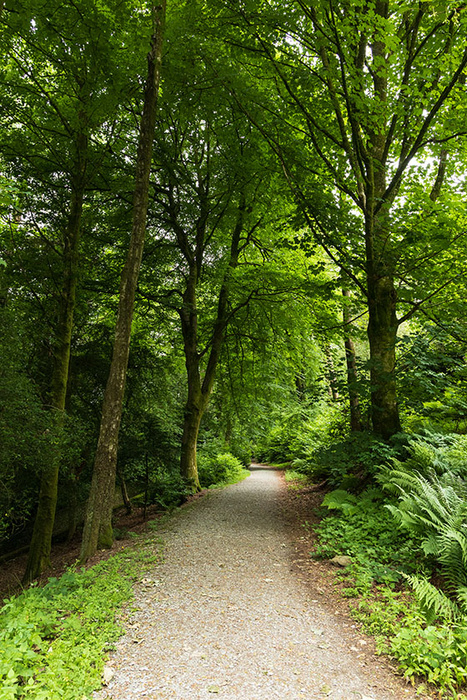
Continuing on the blue route. The red route is visible on the left side of the picture; the red and blue routes meet shortly ahead.
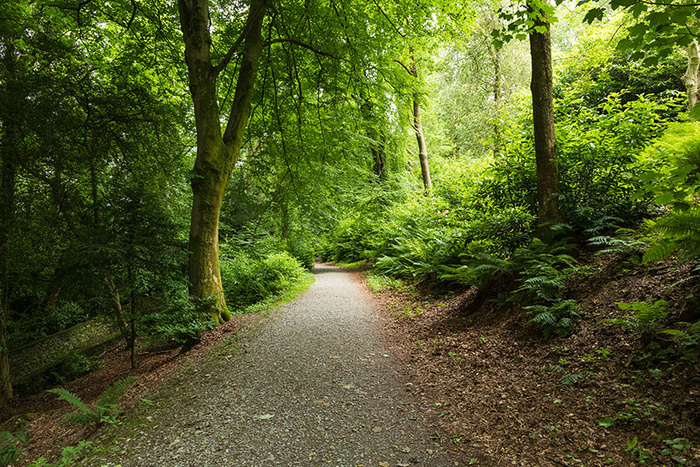
Marker post 6.
The blue route curves to the right.
The red route comes up from the left (and there are two benches just off the picture; the benches seem especially appreciated by walkers who have walked up the red route).
(I actually made a quick detour at this point and walked straight ahead to the Elleray Wood Wildlife Sculpture Trail and captured a few more images to update the Elleray Wood Wildlife Sculpture Trail blogpost on this website).
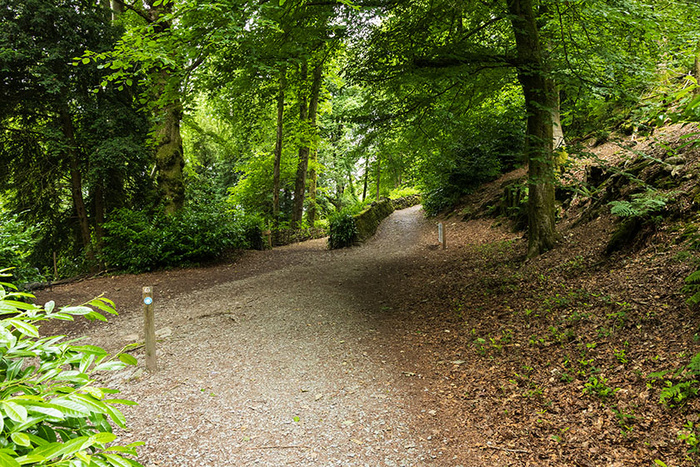
To continue its way towards the summit, the blue route goes uphill from here, running alongside the stone wall. (To the left of the stone wall is the top entrance to the Elleray Wood Wildlife Sculpture Trail).
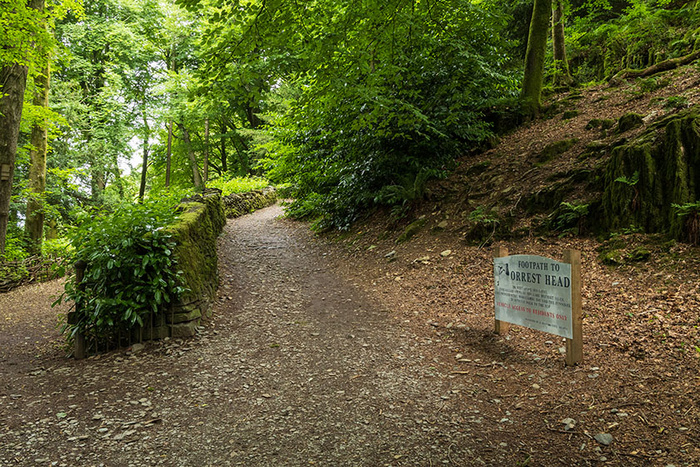
The blue route continuing uphill.
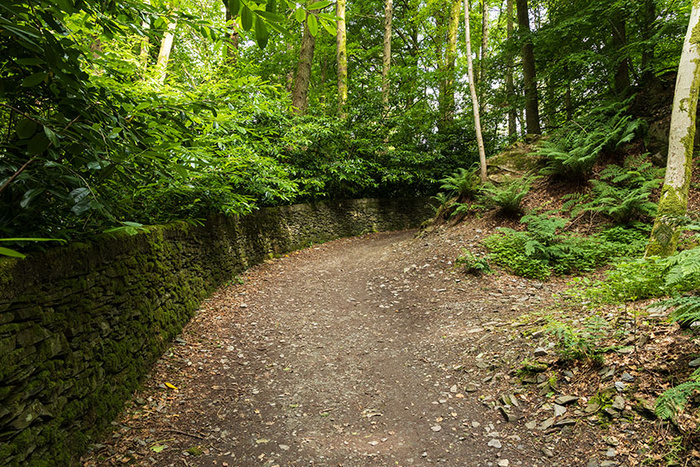
A bench, located just before the path goes past marker post 7.
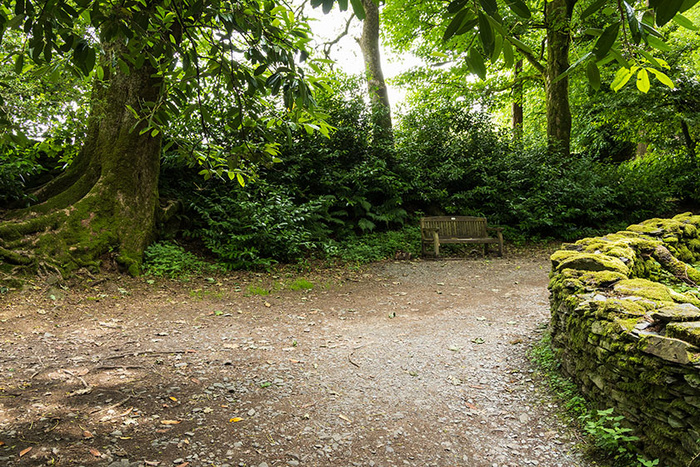
Marker post 7.
The blue route gently goes uphill, on the right of the picture. It is a short walk via the blue route to marker post 8 (where there is a route map lectern and there are often refreshments available).
(The red route goes off to the left. The red route is a steep route with steps and tree roots).
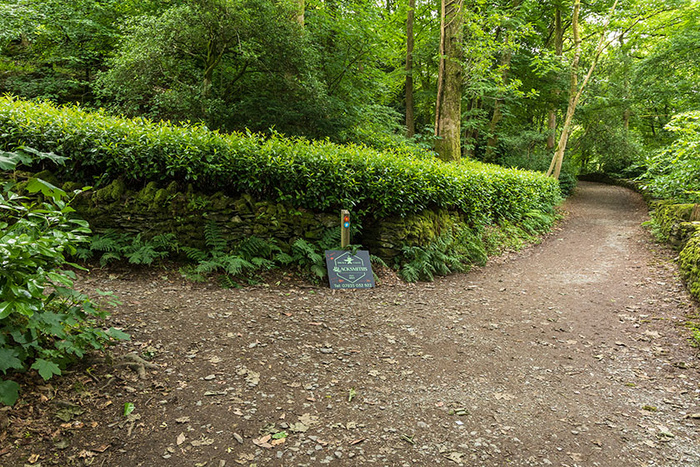
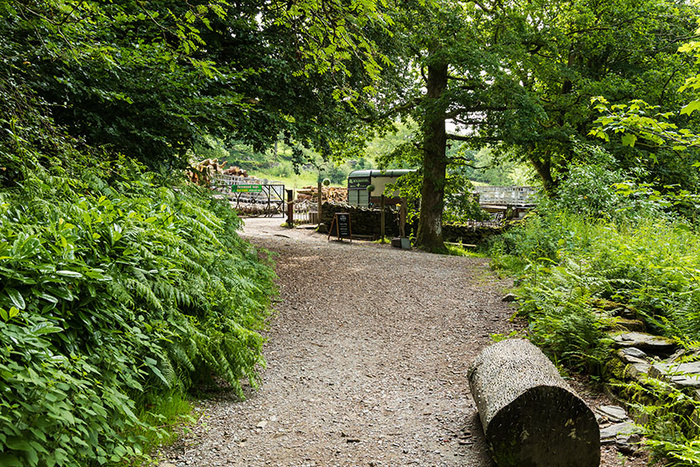
Approaching marker post 8. There are often refreshments available up ahead (brews and cakes as per signage around here). The blue route turns left at marker post 8.
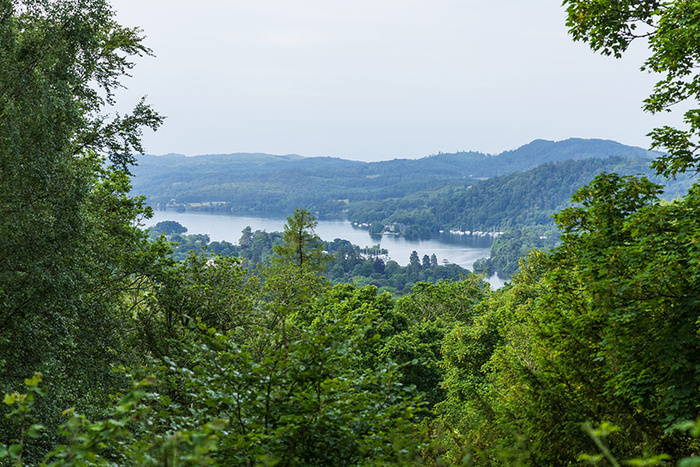
Near marker post 8, where there is a bench that allows a lovely view of Windermere through the trees. (The image for the web is low resolution and the scene often looks hazy on camera as the camera registers the atmospheric haze, although the scene typically is very clear when viewed in person in suitable weather conditions).
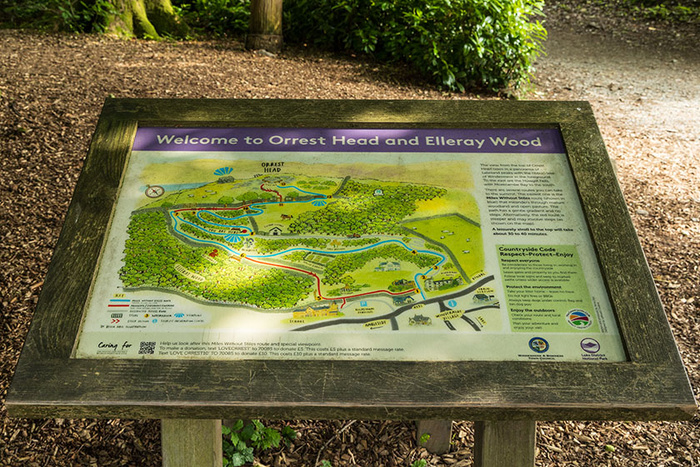
There is a helpful map on this lectern near marker post 8. It is a popular place to stop before continuing the walk, as there are several attractions in the area.
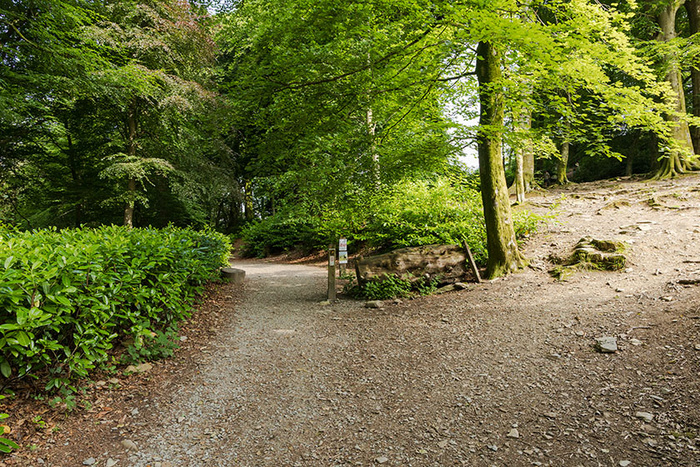
The blue route is on the left half of the picture. (By walking the blue route I can avoid a lot of tree roots).
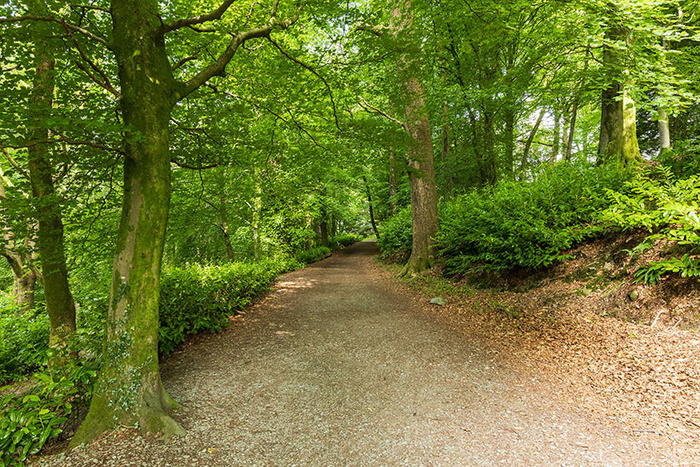
On the blue route.
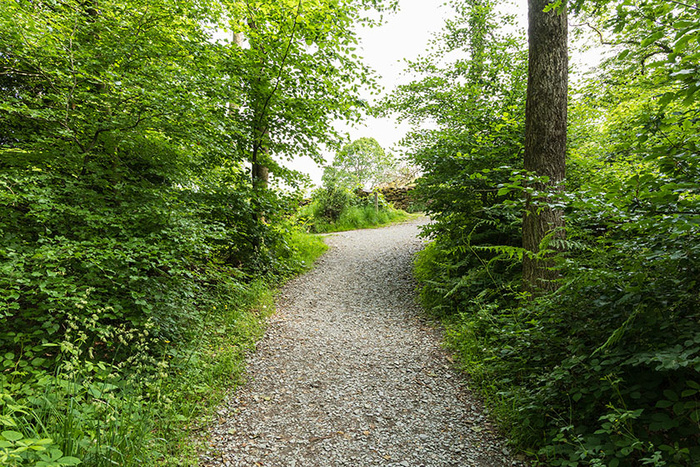
Up ahead is a marker post 9, where the blue route curves around to the right. (There are two marker posts 9, one on each side of the bend, where the red route meets the blue route).
A marker post 9. The blue route curves to the right here, curving around as it continues uphill. (The arrows, on the marker post 9 visible in this image, are showing directions for people who want to go back downhill at this point).
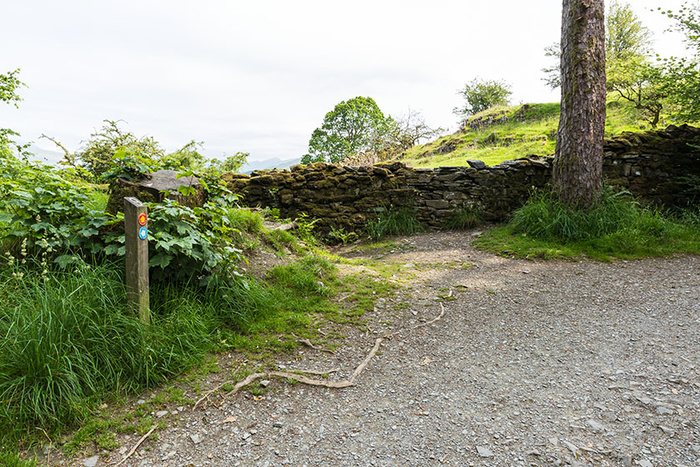
The upper marker post 9 is in this image, as the blue route curves off to the right here. (On the left is the red route which has tree roots and sloping rocky ground in places).
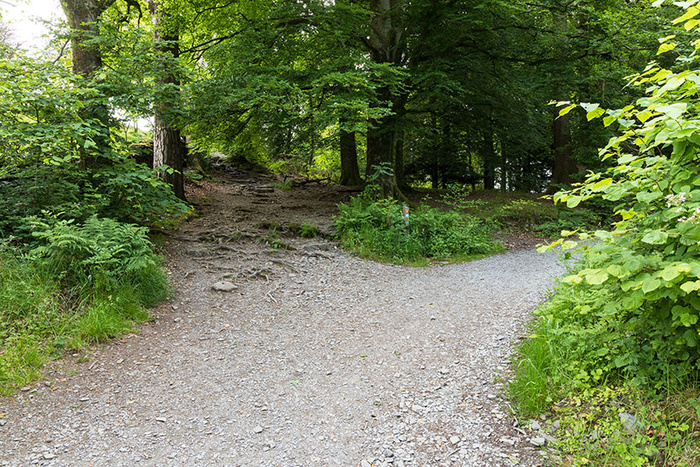
A closer view of the upper marker post 9.
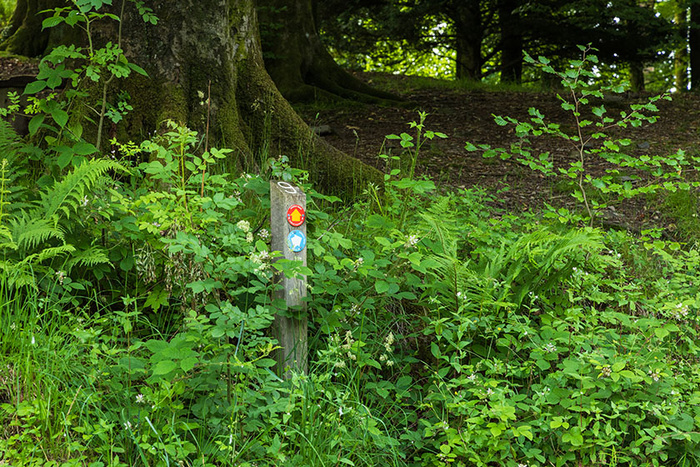
The blue route continuing uphill, after the upper marker post 9. (I ignore some stone steps that may appear on the left of the path just higher up from here; there was once a steep way up a slope and over some possibly-challenging terrain, however it was hardly worth the effort as that way was time-consuming and became overgrown and has now been closed off at the top end). I find that staying on the designated blue route path is a very pleasant walk in any case.
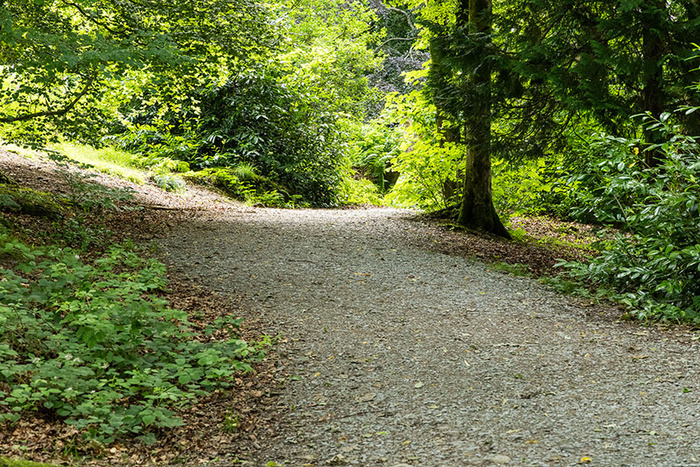
Continuing on the blue route.
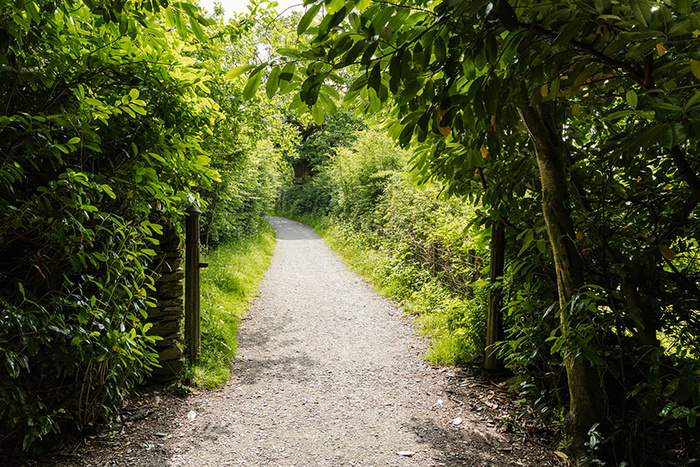
The blue route curves round to the left here.
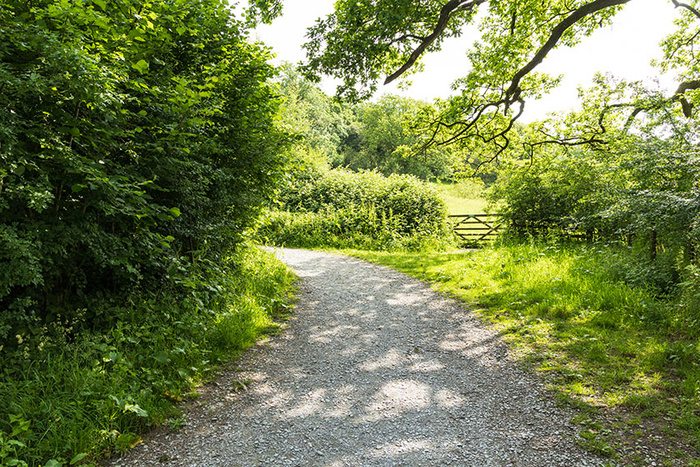
I consider the next stage of the walk to be a most pleasant walk; there are several benches alongside the path and there are glimpses of Windermere (depending on weather conditions). The blue route turns right just up ahead and there is a gentle walk uphill.
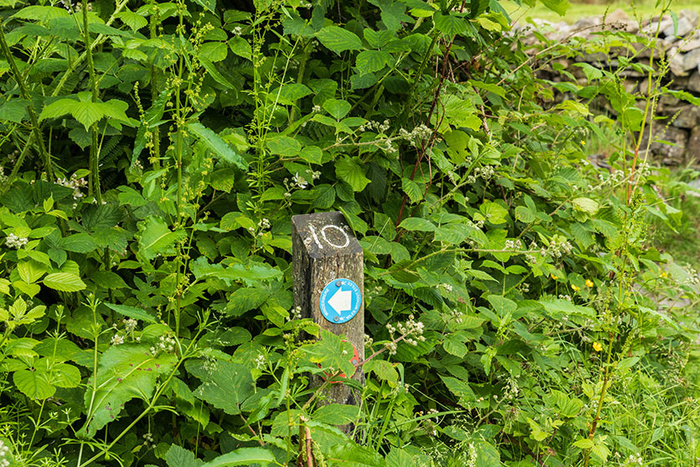
Marker post 10. The arrows on the marker post indicate options for going back downhill for people going down the hill. The red route meets the blue route at marker post 10 and there is a glimpse of the lake available. (I haven’t included the view looking across the red route to the lake, because doing so could be confusing and there are lots of glimpses of the lake available from the blue route, images shortly).
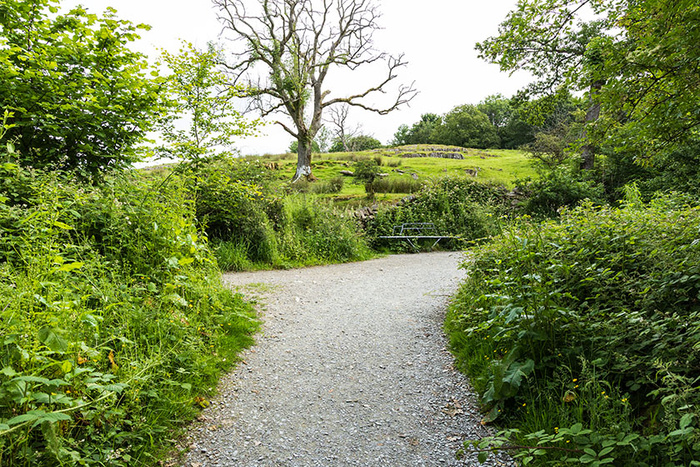
One of several benches along this stretch.
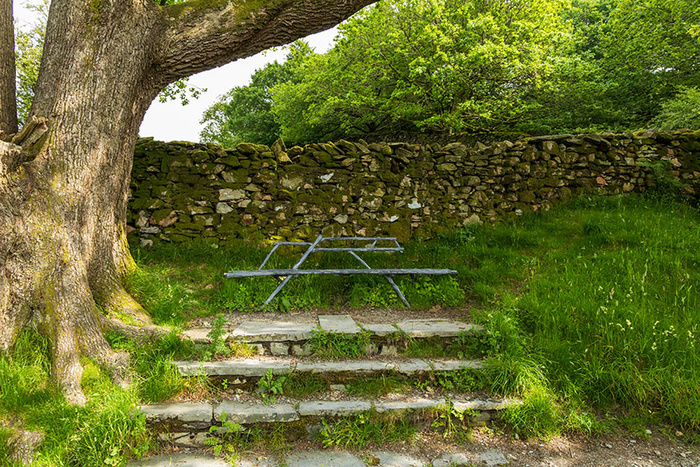
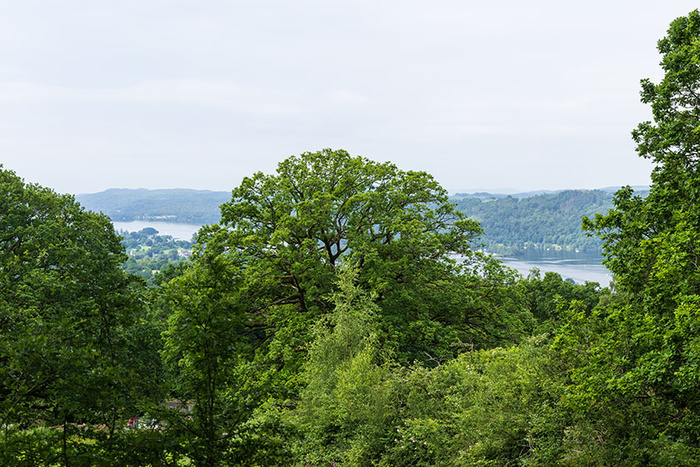
A view of the lake, from near marker post 11.
Marker post 11 is next to the bench. The blue route continues straight on as it ascends gently.
(By contrast, through the metal “kissing gate” on the left and between the memorial stones is the red route which goes steeply uphill over lots of steps).
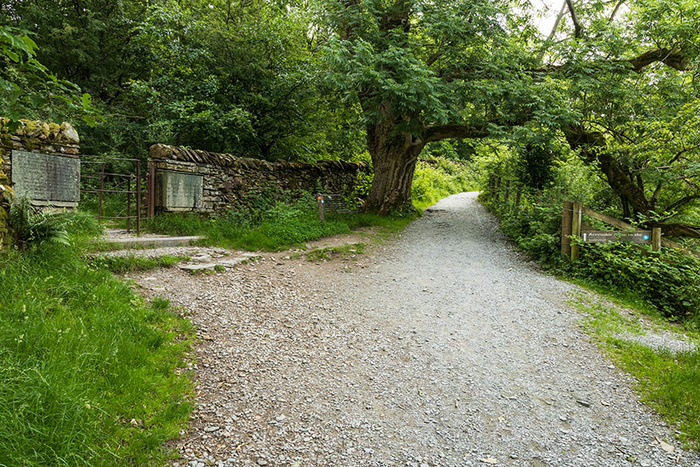
On the blue route between marker post 11 and marker post 12. There are several places to catch a glimpse of Windermere through the trees.
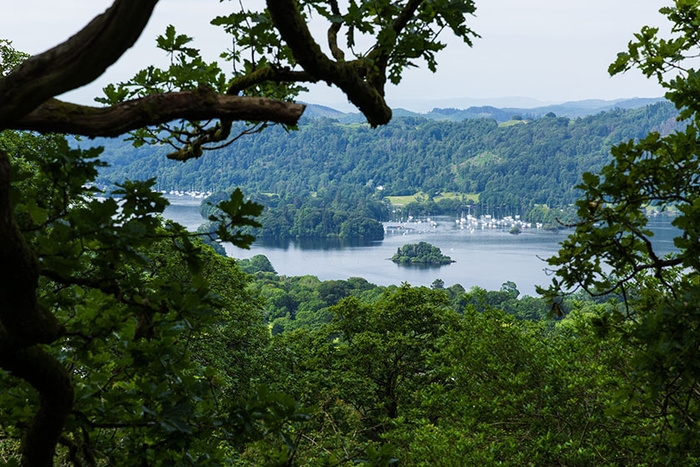
Approaching marker post 12. There are benches around here and then the path weaves uphill to the summit, however it is not far to the summit from here.
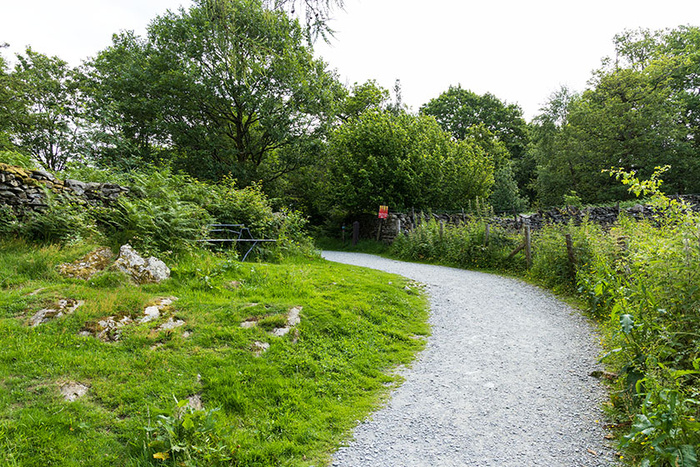
Nearly at the top.
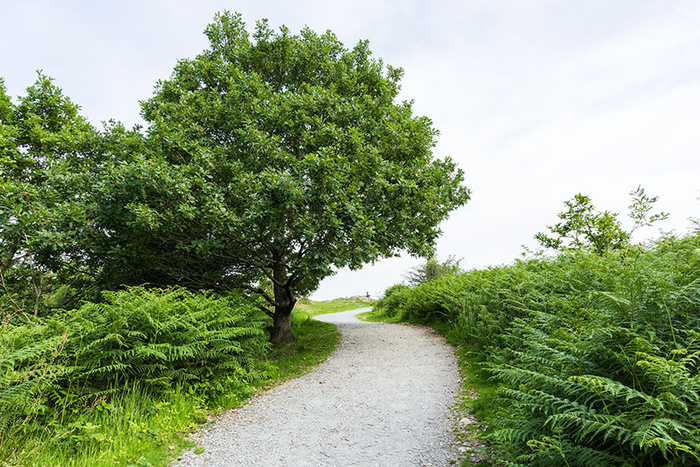
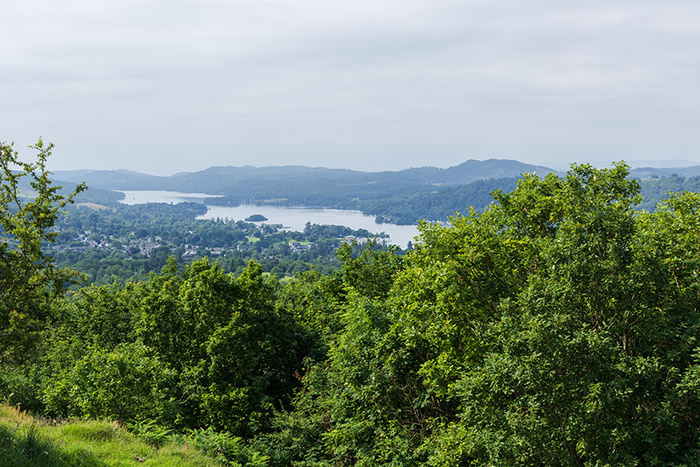
Looking towards the southern part of Windermere, from near the summit of Orrest Head.
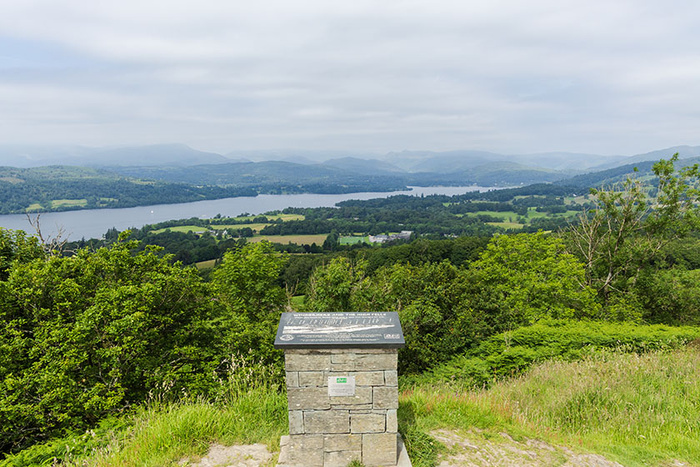
Looking towards the northern part of Windermere from Orrest Head, with the slate view-finder in the foreground. This is an image from June when I walked the blue route, however I was hoping to get a clearer view into the distance, so I revisited Orrest Head this month, July, and achieved a clearer image, as mentioned below.
July revisit to the summit:
When I visited this month, July, I did get a clearer day and I have added one of the images, “Windermere from Orrest Head”, to the Photo4me photographic wall art gallery website. The in-situ mockup image below is courtesy of Photo4me.

In-situ mockup image courtesy of Photo4me. (Low resolution image for promotional web display purposes).
To view the above image on Photo4me, please visit Orrest Head on Photo4me (clickable link).
Blogpost disclaimer:
Weather, lighting and ground conditions may vary. Fitness levels may vary. The inclusion of a walk does not guarantee a public right-of-way. Information on walks is given in good faith. Walks information is not professional advice so should not be taken to be such.
Here are some photographs from the walk.
The view on the hot sunny day in June when leaving the bus/rail interchange. The start of the Orrest Head path is just visible near the car and cyclist in this image.
Signposts at the start of the path to Orrest Head.
Marker post 1. The blue route is the path on the right of the picture. The blue route avoids steps.
Following the blue route as it sweeps around to the right.
The blue route turns off to the left at marker post 2 here, to deviate from the grey route.
A short stretch of woodland path before the blue route rejoins the grey route at marker post 3 which is up ahead.
Rejoining the grey route at marker post 3.
The path curves its way uphill.
Marker post 4. Here the blue route leaves the grey route and allows for a gentle walk for the next stretch, although at the time the picture was taken, one of the blue circles was missing from the marker post. (By contrast, the grey route sweeps round to the right to quickly ascend through very tight bends).
On the blue route.
Tall trees on the blue route.
More tall trees on the blue route. The red route is appearing, on the left of this picture.
Continuing on the blue route. The red route is visible on the left side of the picture; the red and blue routes meet shortly ahead.
Marker post 6.
The blue route curves to the right.
The red route comes up from the left (and there are two benches just off the picture; the benches seem especially appreciated by walkers who have walked up the red route).
(I actually made a quick detour at this point and walked straight ahead to the Elleray Wood Wildlife Sculpture Trail and captured a few more images to update the Elleray Wood Wildlife Sculpture Trail blogpost on this website).
To continue its way towards the summit, the blue route goes uphill from here, running alongside the stone wall. (To the left of the stone wall is the top entrance to the Elleray Wood Wildlife Sculpture Trail).
The blue route continuing uphill.
A bench, located just before the path goes past marker post 7.
Marker post 7.
The blue route gently goes uphill, on the right of the picture. It is a short walk via the blue route to marker post 8 (where there is a route map lectern and there are often refreshments available).
(The red route goes off to the left. The red route is a steep route with steps and tree roots).
Approaching marker post 8. There are often refreshments available up ahead (brews and cakes as per signage around here). The blue route turns left at marker post 8.
Near marker post 8, where there is a bench that allows a lovely view of Windermere through the trees. (The image for the web is low resolution and the scene often looks hazy on camera as the camera registers the atmospheric haze, although the scene typically is very clear when viewed in person in suitable weather conditions).
There is a helpful map on this lectern near marker post 8. It is a popular place to stop before continuing the walk, as there are several attractions in the area.
The blue route is on the left half of the picture. (By walking the blue route I can avoid a lot of tree roots).
On the blue route.
Up ahead is a marker post 9, where the blue route curves around to the right. (There are two marker posts 9, one on each side of the bend, where the red route meets the blue route).
A marker post 9. The blue route curves to the right here, curving around as it continues uphill. (The arrows, on the marker post 9 visible in this image, are showing directions for people who want to go back downhill at this point).
The upper marker post 9 is in this image, as the blue route curves off to the right here. (On the left is the red route which has tree roots and sloping rocky ground in places).
A closer view of the upper marker post 9.
The blue route continuing uphill, after the upper marker post 9. (I ignore some stone steps that may appear on the left of the path just higher up from here; there was once a steep way up a slope and over some possibly-challenging terrain, however it was hardly worth the effort as that way was time-consuming and became overgrown and has now been closed off at the top end). I find that staying on the designated blue route path is a very pleasant walk in any case.
Continuing on the blue route.
The blue route curves round to the left here.
I consider the next stage of the walk to be a most pleasant walk; there are several benches alongside the path and there are glimpses of Windermere (depending on weather conditions). The blue route turns right just up ahead and there is a gentle walk uphill.
Marker post 10. The arrows on the marker post indicate options for going back downhill for people going down the hill. The red route meets the blue route at marker post 10 and there is a glimpse of the lake available. (I haven’t included the view looking across the red route to the lake, because doing so could be confusing and there are lots of glimpses of the lake available from the blue route, images shortly).
One of several benches along this stretch.
A view of the lake, from near marker post 11.
Marker post 11 is next to the bench. The blue route continues straight on as it ascends gently.
(By contrast, through the metal “kissing gate” on the left and between the memorial stones is the red route which goes steeply uphill over lots of steps).
On the blue route between marker post 11 and marker post 12. There are several places to catch a glimpse of Windermere through the trees.
Approaching marker post 12. There are benches around here and then the path weaves uphill to the summit, however it is not far to the summit from here.
Nearly at the top.
Looking towards the southern part of Windermere, from near the summit of Orrest Head.
Looking towards the northern part of Windermere from Orrest Head, with the slate view-finder in the foreground. This is an image from June when I walked the blue route, however I was hoping to get a clearer view into the distance, so I revisited Orrest Head this month, July, and achieved a clearer image, as mentioned below.
July revisit to the summit:
When I visited this month, July, I did get a clearer day and I have added one of the images, “Windermere from Orrest Head”, to the Photo4me photographic wall art gallery website. The in-situ mockup image below is courtesy of Photo4me.
In-situ mockup image courtesy of Photo4me. (Low resolution image for promotional web display purposes).
To view the above image on Photo4me, please visit Orrest Head on Photo4me (clickable link).
Blogpost disclaimer:
Weather, lighting and ground conditions may vary. Fitness levels may vary. The inclusion of a walk does not guarantee a public right-of-way. Information on walks is given in good faith. Walks information is not professional advice so should not be taken to be such.